
 What are system events? Well, basically they are events raised by the operating system when a user performs an action which affects the operating environment.
System events are accessible through the Microsoft.Win32.SystemEvents class.
SystemEvents Events
Below is a list of all the system events found within the SystemEvents class.
| Name | Description |
DisplaySettingsChanged
|
Occurs when the user changes the display settings. |
DisplaySettingsChanging
|
Occurs when the display settings are changing. |
EventsThreadShutdown
|
Occurs before the thread that listens for system events is terminated. |
InstalledFontsChanged
|
Occurs when the user adds fonts to or removes fonts from the system. |
LowMemory
|
Obsolete. Occurs when the system is running out of available RAM. |
PaletteChanged
|
Occurs when the user switches to an application that uses a different palette. |
PowerModeChanged
|
Occurs when the user suspends or resumes the system. |
SessionEnded
|
Occurs when the user is logging off or shutting down the system. |
SessionEnding
|
Occurs when the user is trying to log off or shut down the system. |
SessionSwitch
|
Occurs when the currently logged-in user has changed. |
TimeChanged
|
Occurs when the user changes the time on the system clock. |
TimerElapsed
|
Occurs when a windows timer interval has expired. |
UserPreferenceChanged
|
Occurs when a user preference has changed. |
UserPreferenceChanging
|
Occurs when a user preference is changing. |
 The Microsoft.NET Framework contains a component called the
 What exactly is a temporary file? Put simply, a temporary file is a file used by an application for storing temporary data. There is no fixed rule which specifies what this data should be, but generally temporary files (or temp files) are used for storing ‘work data‘. For example Microsoft Office uses temp files to store backups of documents being created or edited. Other applications might use temp files to store large amounts of data which would otherwise occupy too much memory. Basically, it is up to the developer to decide what should be kept within his/her application’s temp files.
 In this article I am going to show you how to monitor a folder for changes. A reason why you might want to do this is for example if you want to keep two files in different locations in sync. When the original file is changed it would trigger an event and you can update the copy in the other location with the updated original file.
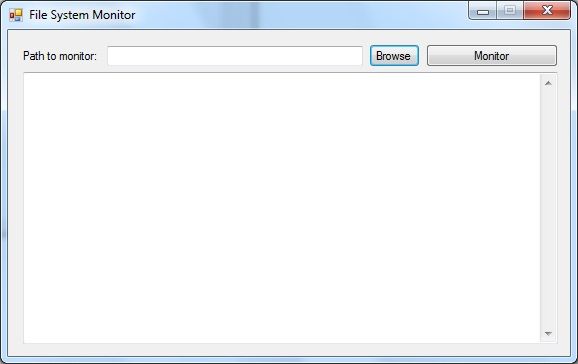
 In this post I am going to show you a few different ways how you can format a decimal number (